
A breakout is more useful when you understand both the price level being broken and the participation behind the move.
This strategy framework looks for a clear resistance area, a move through that level, stronger-than-normal volume and enough liquidity to manage the trade efficiently.
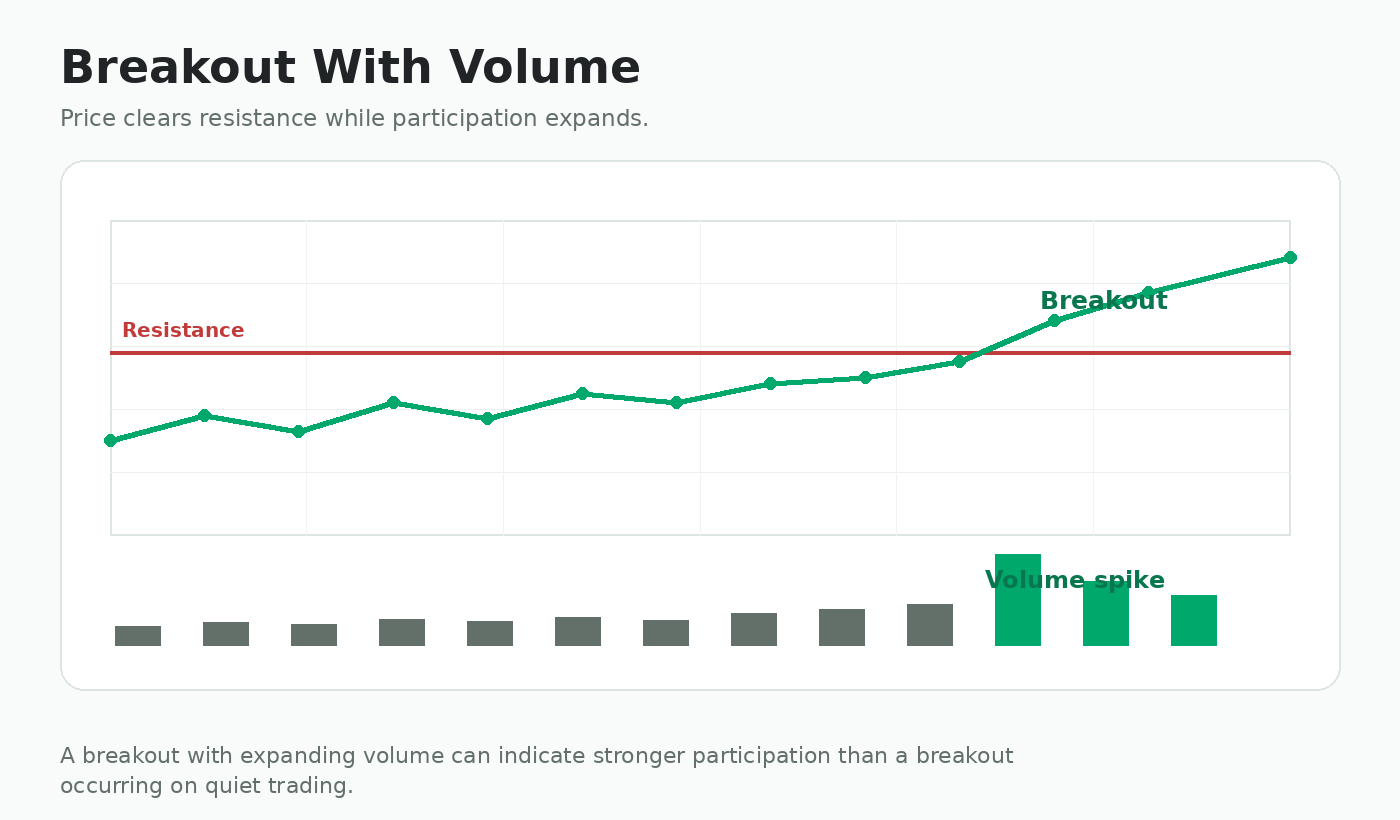
See a breakout with volume
The setup combines a price break through resistance with expanding participation, then watches whether price can hold or successfully retest the breakout area.
What is a breakout?
A breakout occurs when price moves beyond an important resistance area, trading range or other clearly watched level.
The breakout itself only tells you that price crossed the level. The next question is whether enough participation exists for the move to continue.
Why volume matters on a breakout
When price breaks resistance while volume expands, more shares are changing hands at the moment the market is attempting to move into a new price area.
The breakout-with-volume setup
Different entry styles
There are several ways traders may approach a breakout. Each has trade-offs.
The breakout retest
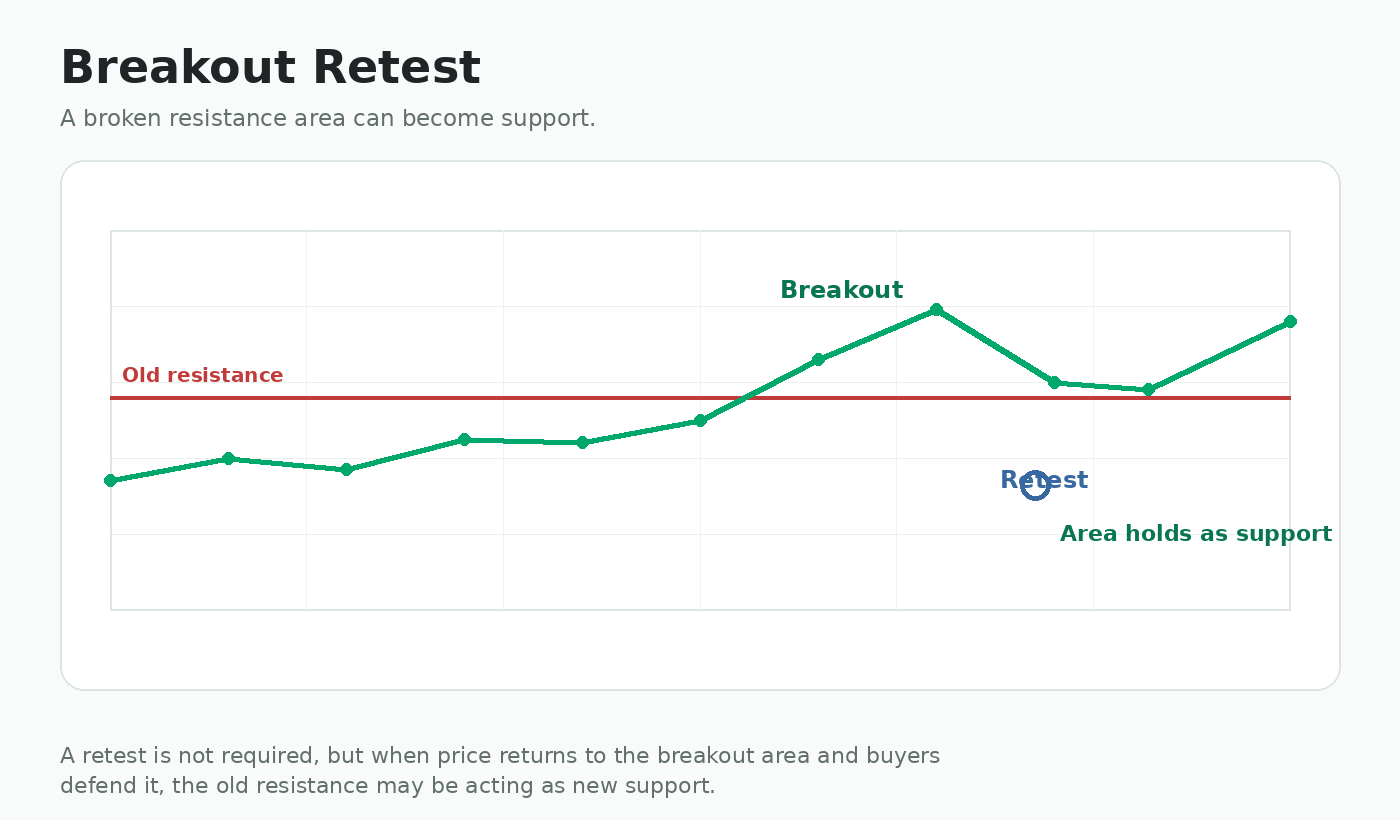
After a breakout, old resistance can sometimes become new support. A retest happens when price returns toward the breakout area.
A constructive retest normally means price approaches the old resistance area, selling pressure slows, and buyers begin defending the zone.
If price falls decisively back through the level, the breakout may be failing rather than successfully retesting.
Risk management
Possible invalidation can be below the breakout level, below the retest low, or below another meaningful chart structure depending on the setup.
Do not choose a large position first and then force the stop to fit. Choose the logical invalidation level first, calculate risk per share, then size the position.
Common breakout mistakes
- Buying because price is green without identifying a real resistance level.
- Ignoring whether breakout volume is actually unusual.
- Chasing after price becomes extended far above the breakout area.
- Assuming every move above resistance is a confirmed breakout.
- Ignoring nearby higher-timeframe resistance.
- Using a position too large for the stock's liquidity.